Rainwater harvesting is one of the simplest ways to secure a renewable water source for your home or homestead. Across the United States, outdoor water use accounts for nearly 30% of total household consumption, according to the EPA. By capturing what falls on your roof, you can slash municipal water bills, reduce strain on wells, and create a backup supply for emergencies. A properly designed system can supply water for gardens, livestock, flushing toilets, or even drinking if treated correctly.
Building a DIY rainwater collection system does not require advanced plumbing skills. The core concept is simple: capture rain from a roof surface, channel it through leaf screens and a first-flush diverter, and store it in a tank. With the right materials and careful sizing, you can harvest about 623 gallons from a 1,000-square-foot roof for every inch of rain. This guide walks you through each step, from calculating tank size to installing gutters and maintaining water quality. You will also find links to in-depth resources on rainwater harvesting systems and recommended collection equipment to help you plan your build with confidence.
| Component | Purpose | Key Consideration | Cost Range (USD) |
|---|---|---|---|
| Gutters & Downspouts | Channel roof runoff to the tank | Use PVC or aluminum; include leaf screens | Check price |
| First-Flush Diverter | Discard the dirtiest initial runoff | Sized 1 gal per 100 sq ft of roof | Check price |
| Storage Tank | Hold collected rainwater | Food-grade polyethylene; opaque to block light | Check price |
| Pump | Pressurize water for use | Submersible or jet pump; size for flow and head | Check price |
| Filtration (potable) | Remove sediment, pathogens, and taste/odor | Sediment filter + carbon block + UV; WQA certified | Check price |
What Are the Basic Components of a Rainwater Collection System?

Every rainwater harvesting system has four main parts: the catchment surface, conveyance channels, storage, and distribution or treatment. The catchment is usually your rooftop, which collects rain. Conveyance includes gutters, downspouts, and screens that move water while filtering out large debris. Storage is the tank or cistern where water accumulates until you need it. Finally, distribution may involve a simple spigot, a pump, or a whole-house treatment train if the water is for potable use.
For a basic non-potable setup, you will need gutters with leaf guards, a downspout diverter kit, and a food-grade polyethylene storage tank. Adding a first-flush diverter, which captures and discards the first few gallons of runoff, removes roof dirt, bird droppings, and pollen. For potable water, you must also include a multi-stage filter and a disinfection method such as UV light or chlorination that meets EPA drinking water standards. Always check local health department regulations for any additional requirements.
The table below summarizes the key components, their roles, and typical cost ranges. These prices vary by region and tank size, but they offer a realistic starting point for budgeting your project.
How Do You Calculate the Right Tank Size for Your Roof?
Tank sizing depends on three factors: roof area, local average rainfall, and intended water demand. The formula is simple. Multiply your roof square footage by 0.623 (the gallons collected per square foot per inch of rain). Then multiply by the average annual rainfall in inches for your location. For example, a 1,200-square-foot roof in Austin, Texas, where annual rainfall is about 33 inches, yields roughly 1,200 x 0.623 x 33 = 24,670 gallons per year. That is more than enough for landscape irrigation and toilet flushing for an average family.
However, you do not need to capture every drop. Size the tank to balance capture with typical dry periods. A good rule of thumb is to store enough water for two to three weeks without rain. If your household uses 200 gallons per day for non-potable needs, a 4,000- to 5,000-gallon tank provides a solid buffer. Many off-grid homesteads use multiple smaller tanks in series to increase capacity incrementally. For a deeper dive into designing a system tailored to specific needs, see our comprehensive rainwater harvesting guide.
The National Ground Water Association advises that even a modest roof can capture significant water. In fact, one inch of rain on a 1,000-square-foot roof yields nearly the same water as a 375-gallon hot tub. That statistic alone makes the case for starting small and expanding later.
- Calculate roof footprint, not total surface area. Measure the building’s length and width at ground level.
- Find average monthly rainfall from NOAA or local weather services to plan for seasonal dry spells.
- Multiply roof square footage by 0.623, then by expected inches of rain per month to get monthly yield.
- Compare that yield to your estimated water budget for gardens, flushing, or livestock.
- Select a tank at least 10% larger than your driest month’s calculated deficit to account for evaporation and overflows.
What Tools and Materials Will You Need for the DIY Build?
Before starting, gather all materials. A basic non-potable system requires PVC or HDPE gutters, downspout adapters, leaf screens, flexible downspout tubing, a first-flush diverter kit, and a tank. For the tank, choose opaque, food-grade polyethylene to prevent algae growth. If you plan to use the water for drinking, you will also need a spin-down sediment filter, a carbon block filter, and a UV sterilizer certified by the Water Quality Association. Although well water testing kits are not designed for rain, many of the same water testing kits work for both sources, and you should test your finished system annually for bacteria, heavy metals, and pH.
Common tools include a cordless drill, hacksaw, level, tape measure, screwdrivers, and a ladder. If your roof requires structural modifications for gutter hangers, you might need a hammer and roofing nails. For tank plumbing, a hole saw kit and PVC cement are essential. If you are installing a pump, basic electrical tools come into play. The entire build can typically be completed in a weekend.
- Food-grade polyethylene tank, 55 to 1,500 gallons, with screened inlet and overflow port
- PVC or aluminum gutters and downspouts sized for your roof
- First-flush diverter kit (pipe, ball, and cleanout valve)
- Leaf screens and gutter guards
- Flexible downspout adapter and diverter tee
- Hose bib or ball valve for tank outlet
- Optional: submersible or jet pump, pressure tank, and UV filter if using indoors
How Do You Install the Roof Catchment and Gutters?
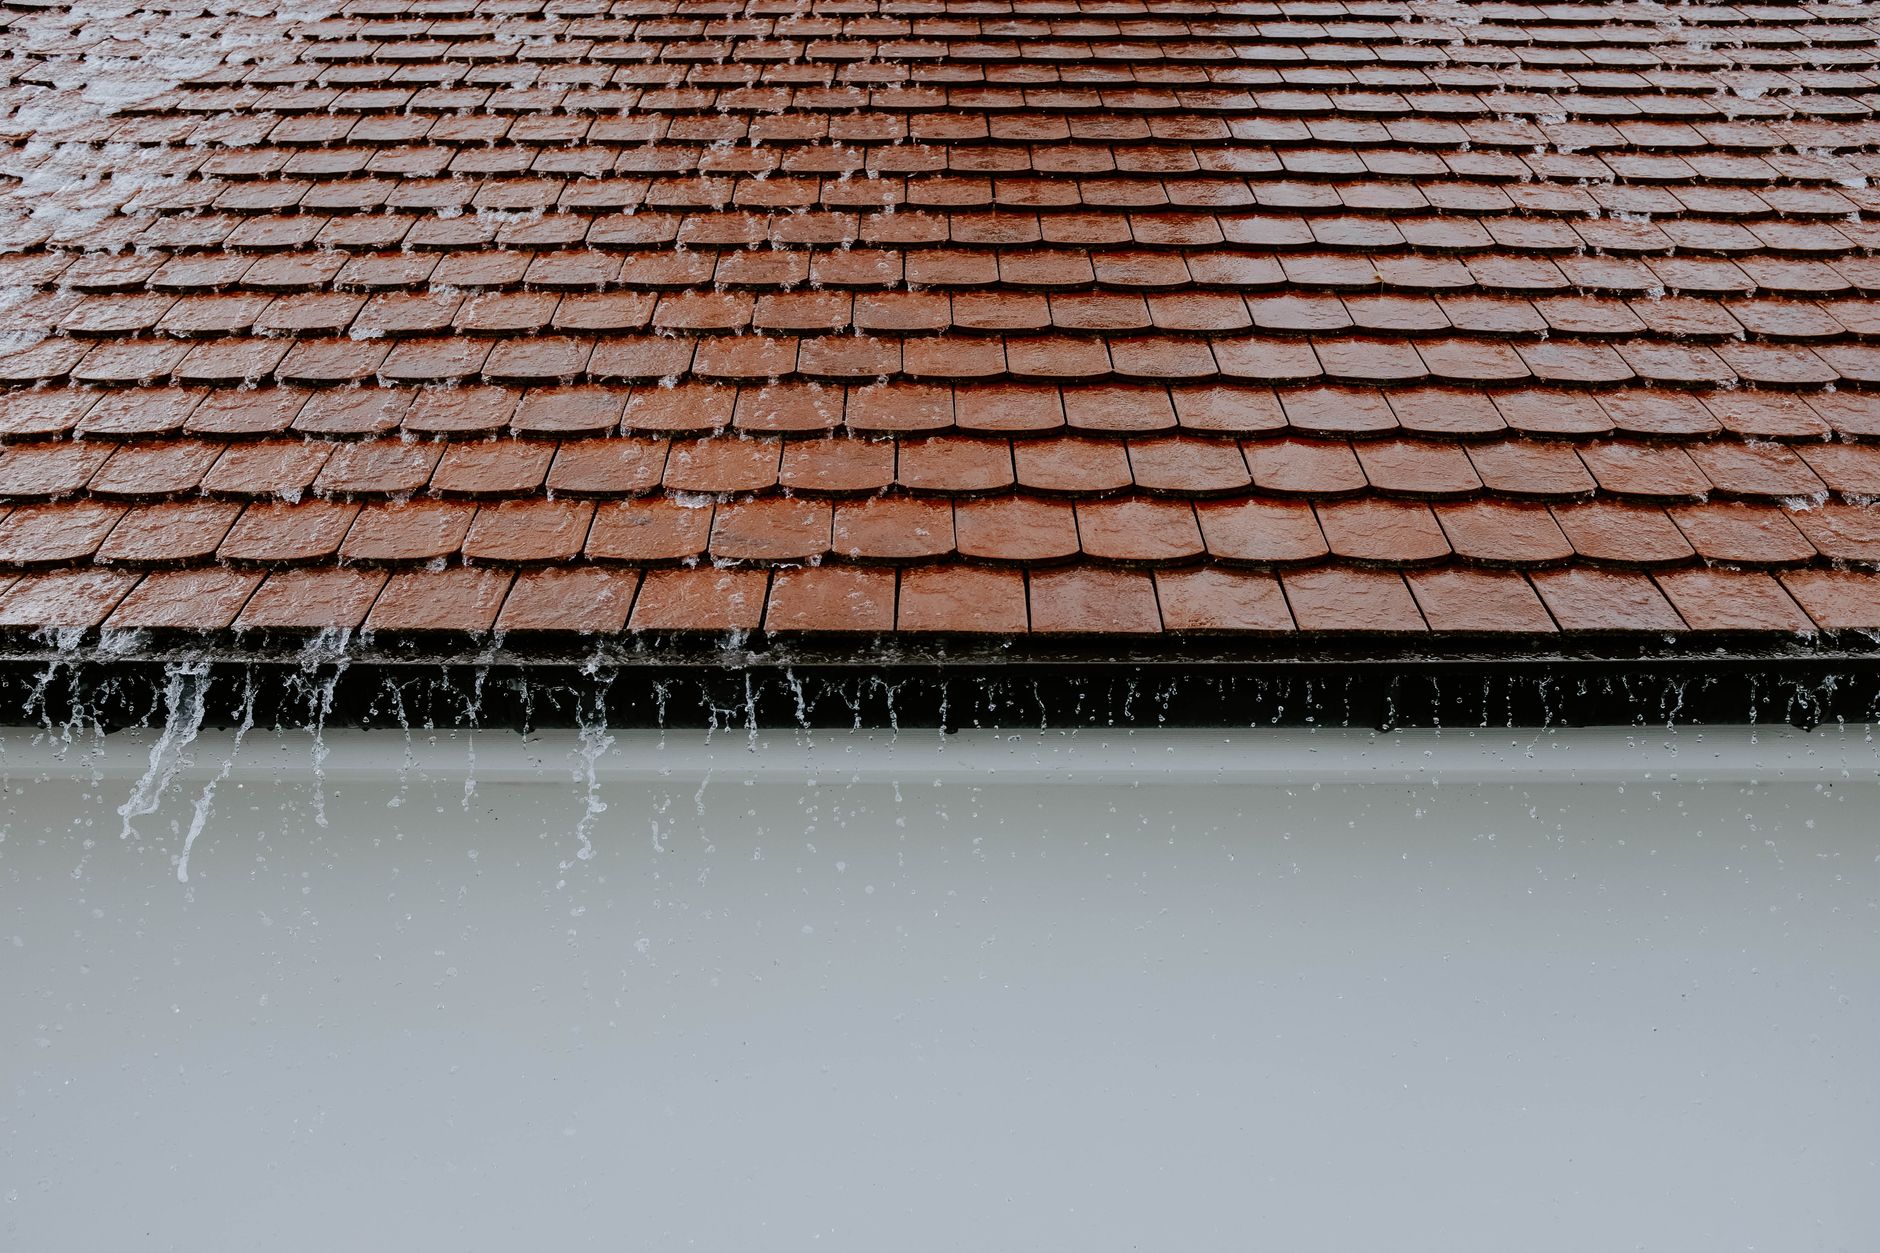
Start by installing gutters along the roof edge with a slight slope of about 1/4 inch per 10 feet toward the downspout location. Secure gutter brackets to the fascia board every 24 to 36 inches. Use a level to ensure water flows consistently. At the low point, attach a downspout elbow and extend it to your tank inlet area. Cover all gutters with leaf screens to keep out large debris, which can clog the system and breed mosquitoes.
If your roof already has gutters, you can retrofit them for rainwater collection by cutting the downspout and inserting a diverter tee. The diverter directs water into a flexible hose that leads to the first-flush device and tank. Make sure all connections are watertight and that the downspout has an overflow path away from the foundation. For metal roofs, you may need to install a flashing to protect the edge. As with any roof work, follow local building codes and work safely on a ladder.
Position the tank on a level, compacted base. A concrete pad or a bed of gravel works well. The tank must sit perfectly flat to prevent stress cracks. Set it as close as possible to the downspout to minimize hose length. Once the tank is in place, attach the inlet screen and overflow pipe. The overflow should be directed away from the house or into a rain garden. After installation, test the system with a garden hose to check for leaks and proper flow.
How Does a First-Flush Diverter Improve Water Quality?
The first few minutes of rain wash the roof clean of accumulated dirt, bird droppings, pollen, and even airborne pollutants. That initial runoff, called the first flush, carries the highest concentration of contaminants. A first-flush diverter captures this dirty water and holds it in a vertical pipe, allowing cleaner water to flow into the tank only after the pipe fills and a ball seals the opening. The dirty water slowly drains out through a small weep hole after the rain stops.
Without a diverter, these contaminants end up in your tank, promoting bacteria growth and clogging filters. According to the CDC, any water collected from roofs should be considered non-potable unless properly treated. For potable use, the WHO recommends a multi-barrier approach that includes sediment filtration, activated carbon, and disinfection. A diverter is the first barrier. A typical rule is to divert 1 gallon per 100 square feet of roof area. So a 1,200-square-foot roof needs a 12-gallon first-flush device. This simple component dramatically reduces maintenance and improves water clarity.
Regular cleaning of the diverter is essential. The weep hole can clog with debris, so inspect it monthly. If you live in an area with heavy pollen or leaf litter, consider installing a second screen upstream of the diverter. For those who want to test their water quality after installation, the methods used for well water testing are equally applicable, especially for bacteriological parameters like total coliform and E. coli.
- Divert at least 1 gallon per 100 square feet of roof area to capture initial roof wash.
- Install a cleanout valve at the bottom of the diverter pipe for easy flushing.
- Ensure the weep hole remains unclogged; drill it to about 1/8 inch diameter.
- Empty and clean the diverter between rain events if you experience long dry spells.
What Maintenance Steps Keep Your Rainwater System Safe and Efficient?
Routine maintenance is the difference between a crisp, clean water source and a stagnant mess. Clean gutters and leaf screens every three months, or more often if you have overhanging trees. Remove debris from the tank inlet screen and check the first-flush diverter for buildup. Twice a year, inspect the tank interior for algae, sludge, or insect entry points. If you find algae, consider painting the tank or wrapping it to block all light, or treat the water with food-grade hydrogen peroxide after consulting a professional.
For potable systems, annual water testing is non-negotiable. Test for total coliform, E. coli, lead, and any chemicals that could leach from roofing or plumbing. The WHO provides guidelines for acceptable drinking water quality. If any parameters exceed limits, adjust your treatment train accordingly. UV lamps need replacement every 12 months, and sediment filters should be swapped every three to six months depending on turbidity.
Winterization is critical in cold climates. Drain the tank and all exposed pipes before the first hard freeze. Remove and store pumps indoors. If you rely on rainwater year-round, consider burying the tank or installing an insulated enclosure. For detailed winter preparation steps, see our guide on how to winterize water systems. Proper maintenance not only extends the life of your equipment but also protects your health. As with any water storage setup, following the principles in our water storage tank maintenance guide will keep the system running smoothly for decades.
Frequently Asked Questions
Is it legal to collect rainwater in my area?
Rainwater harvesting is legal in all 50 US states, but many states have regulations on collection methods and tank size. Some states encourage it with incentives, while others require permits for large tanks. Always check local building codes and water rights before building your system.
Can I drink rainwater collected this way?
Untreated rainwater is not safe to drink. It can contain bird droppings, pollen, bacteria, and chemicals from roofing materials. If you plan to use it for drinking, you must install a multi-stage filtration and disinfection system that meets EPA drinking water standards. Annual water testing is essential.
How much does a basic DIY system cost?
A simple system with a 55-gallon drum, gutter connection, and screen can be built for under $100. A larger system with a 500- to 1,500-gallon polyethylene tank, first-flush diverter, and pump typically costs between $500 and $2,000. Costs rise significantly if you add potable-grade filtration and treatment equipment.
What roofing material is safe for rainwater collection?
Metal roofs with baked-enamel or powder coating, clay tile, and slate are generally safe. Avoid asphalt shingles, treated wood shakes, and roofs with copper or lead flashing, as they can leach harmful chemicals. The CDC recommends avoiding materials that release toxic substances into collected water.
How often should I clean my rainwater tank?
Inspect and clean your tank at least once a year. Remove accumulated sludge and check for algae growth. Gutters and screens should be cleaned quarterly, more often if you have overhanging trees. A first-flush diverter should be emptied after each rain event to maintain effectiveness.
Can I use a rainwater system in freezing climates?
Yes, but you must winterize it. Drain the tank and plumbing before the first hard freeze. Disconnect pumps and store them indoors. Use heat tape on exposed pipes or bury them below the frost line. Some people install underground tanks to prevent freezing entirely.
What Should You Remember?
- A rainwater system collects roof runoff using gutters, screens, and a storage tank, yielding about 0.62 gallons per square foot of roof per inch of rainfall.
- Size your tank based on roof square footage, local rainfall data, and intended water use. A 1,000-square-foot roof can capture over 30,000 gallons annually in many regions.
- Follow EPA and CDC guidelines for non-potable and potable uses. Never drink untreated rainwater.
- Install a first-flush diverter to discard the dirtiest initial runoff, this simple device dramatically improves water quality.
- Use food-grade polyethylene tanks, avoid asphalt roofing, and keep all collection surfaces clean to prevent contamination.
- Maintain the system with quarterly gutter cleaning, annual tank inspection, and periodic water testing for potable use.
- Check local ordinances before building; many areas encourage rainwater harvesting but may require permits for larger tanks.
This article is for general information only. Water purification and storage carry health and safety risks — always follow local regulations and manufacturer guidance.