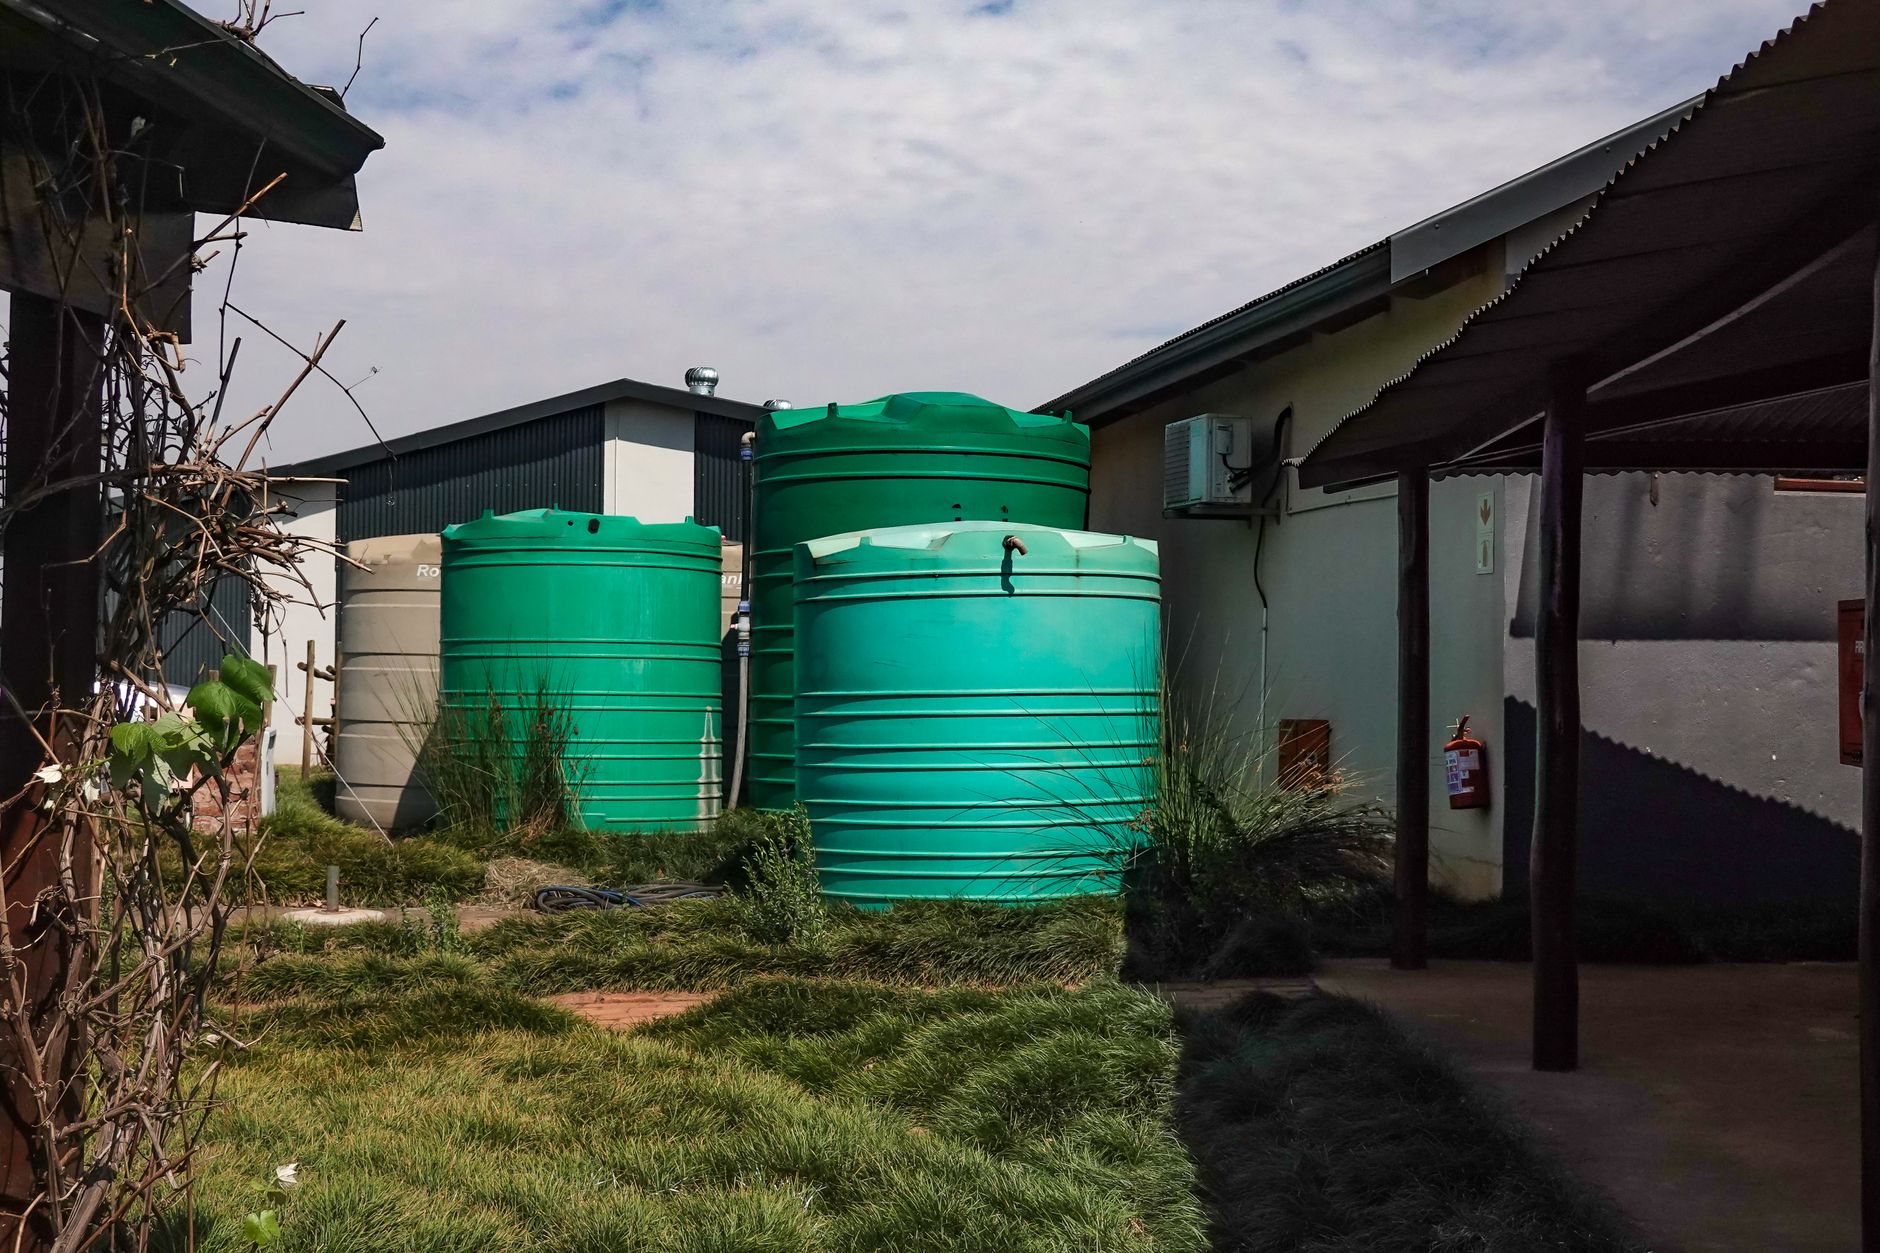
A clean water storage tank is non-negotiable if you depend on harvested rainwater, a private well, or stored emergency reserves. Even a few inches of sediment at the bottom of a 500-gallon tank can harbor coliform bacteria, parasites, and the musty biofilm that turns potable water into a health hazard. Over a year, a single uncovered tank can accumulate enough organic matter to support algae blooms that release toxins and consume free chlorine. Many off-grid households discover the problem only when the water starts smelling like rotten eggs or family members get unexplained stomach bugs. That’s why proactive maintenance is critical.
Maintenance isn’t one-size-fits-all. The approach you choose should match your tank size, water source, and time between cleanings. A 55-gallon emergency drum stored in a basement needs a different strategy than a 2,500-gallon polyethylene cistern baking in the Texas sun. If you’re relying on a cistern or rainwater catchment, testing your water is the first step to tailor your maintenance routine. Without baseline data, you might be over-chlorinating and wasting money, or under-treating and risking illness.
This article compares the five most practical methods for cleaning, sanitizing, and stopping algae before it starts. We’ve based our recommendations on guidelines from the EPA’s drinking water standards and field experience with hundreds of off-grid systems. You’ll see concrete statistics, like how a $15 gallon of hydrogen peroxide treats up to 1,000 gallons of water, or how shock chlorination needs a minimum 12-hour contact time to achieve a 4-log virus kill. We’ll also point you toward the right water storage containers if your current tank has become a maintenance nightmare.
By the end, you’ll know exactly which method to use for a one-time emergency scrub, which for ongoing biological control, and how to layer techniques so you spend less time on your hands and knees inside a tank. Whether you’re maintaining a rainwater harvesting system or a long-term emergency stash, these methods will keep your water safe, clear, and ready to drink.
How Do the Top Options Compare?
| Method | Best For | Effectiveness | Approx. Cost | Time Required |
|---|---|---|---|---|
| Manual Scrubbing & Sanitizing | Small tanks, physical debris | Excellent for sediment, moderate for disinfection | Check price | 2, 4 hours |
| Shock Chlorination | Bacteria, viruses, one-time sanitization | High: 99.9% kill of bacteria and viruses | Check price | 24, 48 hours (including contact and rinse) |
| Hydrogen Peroxide | Algae, biofilm, taste-free disinfection | Very high against biofilm; moderate against spores | Check price | 12, 24 hours |
| UV-C Light Sanitization | Ongoing microbial control | High if water is clear; can’t treat biofilm | Check price | Initial install 1, 2 hours, continuous use |
| Algaecide & Light-Blocking Covers | Long-term algae prevention | Preventive; doesn’t kill existing bacteria | Check price | 1, 2 hours to apply; ongoing passive |
Costs are approximate for a 500, 1,000-gallon tank. Bleach and peroxide costs scale with tank volume. UV-C systems require electricity; algaecides must be NSF/ANSI 60 certified for drinking water.
1. Manual Scrubbing and Sanitizing , Removing heavy sediment, sludge, and scaling

Nothing replaces physically scrubbing tank walls when you’ve got years of settled silt and mineral scale. Start by draining the tank completely and safety-checking the confined space. Use a stiff-bristle brush (not wire , it scratches polyethylene) and a mild solution of dish soap or baking soda to scrub every surface you can reach. A pressure washer can speed up the rinse, but keep the nozzle at least 12 inches away to avoid gouging plastic. After scrubbing, vacuum out the dirty water at the bottom. For a full guide on draining and accessing buried or tall tanks, see our water storage tank maintenance guide. Manual cleaning alone won’t kill bacteria or viruses embedded in scratches or seams. That’s why you must follow up with a chemical sanitizer. After scrubbing and vacuuming, you can fill the tank with a sanitizing solution (see Shock Chlorination) and let it sit, then drain and rinse. This combination removes the biofilm that disinfectants struggle to penetrate. The CDC’s drinking water guidelines emphasize that “scrubbing is required to break up biofilm” before chemical disinfection can work. Expect to spend about 2 hours on a typical 500-gallon tank if you use a wet/dry vac for the muck. If tank access is poor, muscle-powered scrubbing may be your only option before you invest in a better water storage container.
Key strengths:
- ✅ Removes 100% of visible sediment and scale
- ✅ Zero chemical cost if you use soap and water
- ✅ Allows visual inspection of tank walls for cracks
- ✅ Prepares surface for chemical sanitizers to reach germs
- ✅ No training or special equipment needed beyond brush and vacuum
- ❌ Labor-intensive; hard in large or tall tanks
- ❌ Cannot reach disinfection alone , must be followed by bleach or peroxide
- ❌ Rinsing thoroughly enough to remove soap residue takes hundreds of gallons
- ❌ Confined-space risks in dark, damp tanks
Who it’s for: Ideal for anyone who can physically access the inside of their tank and needs to remove heavy sediment before switching to chemical maintenance.
2. Shock Chlorination , One-time disinfection of bacteria and viruses
Shock chlorination uses high-dose sodium hypochlorite (household bleach) to oxidize pathogens. For a 500-gallon tank, mix 2 cups of 5, 6% unscented bleach with 5 gallons of water, pour it into the tank through the fill pipe or manhole, then fill the tank with clean water. Let the solution sit for at least 12 hours, though 24 hours is safer. According to the EPA’s drinking water standards, a free chlorine residual of 10, 50 mg/L held over 12 hours achieves 4-log inactivation of viruses like hepatitis A. After the contact period, drain and flush the tank , and run chlorinated water through all pipes and taps , until you can’t smell bleach. Then test with a total chlorine kit to ensure levels fall below 4 mg/L, the maximum EPA residual for safe drinking. For accurate testing, use a reliable water testing kit. The method is cheap: a $5 jug of bleach treats up to 1,000 gallons. It’s also the most widely available method in a grid-down emergency. However, shock chlorination doesn’t remove scale or biofilm. If your tank has heavy biofilm, scrub first. And never use bleach with fragrances, thickeners, or splash-less formulas , those additives are not safe for potable water. Some plastics absorb chlorine odor; you may need several flushes to get the taste out. For more on keeping stored water drinkable long-term, check our emergency water storage guide.
Key strengths:
- ✅ Kills 99.9% of bacteria, viruses, and protozoa when contact time met
- ✅ Inexpensive: less than $10 per treatment for a large tank
- ✅ Available everywhere , even during emergencies
- ✅ Residual chlorine continues protecting water for days after treatment
- ✅ Easiest method for disinfecting pipes and plumbing simultaneously
- ❌ Strong chlorine taste remains if not rinsed thoroughly
- ❌ Does not remove sediments or biofilm , scrubbing still required
- ❌ Overuse can damage certain rubber seals and gaskets
- ❌ Contact time of 12, 24 hours means no water during that period
Who it’s for: Anyone who needs a fast, low-cost way to sanitize a drinking water tank after contamination or long storage. The go-to for emergency preparedness.
3. Hydrogen Peroxide Treatment , Algae, biofilm, and chlorine-free disinfection
Food-grade hydrogen peroxide (usually 35% concentration) breaks down into water and oxygen, leaving no taste or toxic residue. It’s a powerful oxidizer that shreds biofilm and kills algae faster than chlorine in warm water. To treat a 500-gallon tank, mix 1, 2 cups of 35% H₂O₂ with 5 gallons of water, add it via the fill pipe, then fill the tank completely. Let it sit for 12, 24 hours, then drain and rinse. Unlike bleach, peroxide works best in low-pH water, so test your pH first. After treatment, the tank water may taste slightly acidic for a day or two until the peroxide fully decomposes. One bonus: hydrogen peroxide also oxidizes iron and manganese, helping those settle out. A $15 gallon of 35% peroxide can treat about 1,000 gallons of water when dosed at 30, 50 ppm. That’s roughly 15 times more expensive than bleach per treatment, but many off-grid users prefer it because their water doesn’t smell like a swimming pool. For ongoing algae suppression, a maintenance dose of 3, 5 mL per 100 liters (roughly 1 teaspoon per 50 gallons) every few weeks can keep storage tanks clear. You’ll want to monitor residuals with a peroxide test strip, available in many water testing kits. Peroxide is less effective against certain tough protozoan cysts like Cryptosporidium, so in a fecal-contamination scenario, chlorine may still be the safer pick. Always wear gloves and goggles when handling 35% peroxide , it can cause skin burns at full strength.
Key strengths:
- ✅ Destroys biofilm and algae with no taste or odor residue
- ✅ Breaks down into harmless water and oxygen
- ✅ Works well in a wide temperature range, including hot climates
- ✅ Oxidizes iron and manganese, improving water clarity
- ✅ More environmentally friendly than chlorine if drained outdoors
- ❌ More expensive than bleach: about $15 per treatment for 1,000 gallons
- ❌ Less effective against Cryptosporidium cysts than chlorine
- ❌ Requires careful handling , strong oxidizer at 35%
- ❌ No lasting residual protection once it decomposes
Who it’s for: Households that rely on stored water for drinking and want a chlorine-free option. Also great for tanks in hot climates where algae blooms are frequent.
4. UV-C Light Sanitization , Continuous, chemical-free microbial control

Ultraviolet light in the C spectrum (254 nm) scrambles the DNA of bacteria, viruses, and protozoa so they can’t reproduce. Instead of treating the whole tank chemically, you install a UV-C unit on the water line leaving the tank. As water passes through a quartz sleeve surrounded by the bulb, it’s exposed to a calibrated dose. A properly sized UV system can deliver a 99.99% (4-log) reduction of E. coli and Giardia when water turbidity is below 1 NTU. The EPA lists UV as an approved small-system technology for microbial inactivation. For tank interiors, some off-grid owners use a submersible UV-C wand to sweep tank walls after manual scrubbing, but that approach has limitations , UV light can’t reach under ledges or through opaque biofilm. The main draw is zero chemical use and no byproducts. However, UV-C requires electricity (typically 15, 40 watts for a home system) and the bulb needs annual replacement, costing $30, $100. The upfront unit can run from $150 for a basic inline system to $500+ for a whole-house model with a pre-filter. The system must be sized to your peak flow rate; if water moves too fast, contact time drops and bugs survive. And UV does nothing for sediment, taste, or chemical contaminants. It works best as the last stage after sediment filtration. For a deeper dive into how UV stacks up against other methods, see our water purification methods comparison.
Key strengths:
- ✅ No chemicals added , water remains taste- and odor-free
- ✅ Highly effective against chlorine-resistant pathogens like Giardia
- ✅ Instant treatment; no contact time required
- ✅ Minimal maintenance beyond annual bulb replacement
- ✅ Environmentally friendly
- ❌ Does not kill biofilm already on tank walls , requires separate physical cleaning
- ❌ Needs electricity and a spare bulb in an off-grid setup
- ❌ Ineffective in turbid water; requires pre-filtration
- ❌ Capital cost of $150, $500 can be prohibitive for a small tank
Who it’s for: Those who want a hands-off, chemical-free disinfection for a tank that’s already clean. Excellent as a secondary barrier in rainwater systems.
5. Algaecide Treatments and Light-Blocking Covers , Long-term algae prevention in any tank
Algae need two things: light and nutrients. Cut either one and the problem disappears. The most effective prevention is a fully opaque tank or a heavy-duty light-blocking cover. Black polyethylene tanks stop all light; wrapping a translucent tank with a tarp or painting it with an opaque, potable-water-safe coating works too. Keep gutters clean and install first-flush diverters to keep leaf debris and bird droppings out , that starves algae of nitrogen and phosphorus. For tanks where light exclusion is impossible, a preventive algaecide can be used. Look for products certified to NSF/ANSI 60 for drinking water systems; many are based on copper sulfate or quaternary ammonium compounds. A typical 16-ounce bottle costs about $20 and treats up to 10,000 gallons. Do not use pool algaecides , they often contain non-potable additives. The best approach layers both strategies: a black tank with a fine-mesh insect screen on the overflow and a maintenance dose of hydrogen peroxide (as described earlier) every month during warm seasons. This keeps tanks algae-free indefinitely. The rainwater harvesting guide provides more detail on first-flush and tank siting. As a last resort, a standing tank can be treated with a concentrated algaecide and then drained and scrubbed, but prevention costs far less than a full-scale cleaning. There’s no substitute for keeping light and organic matter out from day one. And if you’re setting up a new system, investing in the right water storage container from the get-go saves hundreds in future cleaning costs.
Key strengths:
- ✅ Stops algae before it starts , no chemicals needed if tank is opaque
- ✅ Physical covers and screens also keep out insects and vermin
- ✅ Cost-effective over time: a quality cover lasts years
- ✅ Compatible with all tank materials and shapes
- ✅ Reduces need for frequent shock cleaning
- ❌ Does nothing to disinfect water already contaminated with algae or bacteria
- ❌ Algaecides require careful dosing and are not always NSF-certified
- ❌ Covers can degrade in UV sunlight and need periodic replacement
- ❌ A cover makes visual inspection of the tank interior harder
Who it’s for: Everyone storing water long-term. The first line of defense , you’ll pair it with one of the other sanitizing methods for complete protection.
Frequently Asked Questions
How often should I clean my water storage tank?
Clean your tank at least once every 12 months. In warm climates or if you notice foul odors, sediment buildup, or algae, clean it every 6 months. Rainwater tanks often need cleaning more frequently because of organic debris.
What is the safest chemical to sanitize a drinking water tank?
Unscented household bleach (5, 6% sodium hypochlorite) is the most widely recommended and cost-effective sanitizer. Food-grade hydrogen peroxide is a good alternative if you want to avoid chlorine taste and byproducts. Both are safe when properly dosed and rinsed.
Can I use pool chlorine to shock my drinking water tank?
No. Pool chlorine contains stabilizers and additives not intended for human consumption. Use only unscented household bleach (sodium hypochlorite) that has no dyes, thickeners, or perfumes. Check the label for the EPA registration number.
How do I stop algae from growing in my water tank?
Algae need light and nutrients. Use an opaque tank or cover it to block sunlight. Keep roofs and gutters clean to reduce organic nutrients. Periodic maintenance doses of 35% hydrogen peroxide (3, 5 mL per 100 liters) can also suppress algae without affecting water taste.
Is UV-C effective for whole-tank sanitization?
UV-C light is excellent for continuous inline treatment of water flowing out of the tank, but for whole-tank sanitization a submerged UV-C wand can treat the tank interior. It requires clear water and can’t treat thick biofilm. Combine it with periodic manual brushing.
What equipment do I need to clean a water storage tank?
You will need a nontoxic cleaning solution (bleach or hydrogen peroxide), a stiff-bristle brush, a wet/dry vacuum for debris removal, protective gear (gloves, goggles), a hose for rinsing, and a water testing kit to verify safety after cleaning.
What Should You Remember?
- Test first: Always test stored water with a quality kit before choosing a cleaning method to target specific contaminants.
- Unscented bleach wins: For cost and broad-spectrum kill, unscented household bleach applied as shock chlorination is the top choice for emergency sanitization.
- Hydrogen peroxide shines: It kills algae and biofilm, leaves no taste, and breaks down into water and oxygen, making it safer for routine use.
- UV-C needs clarity: UV light is chemical-free but cannot penetrate biofilm or turbid water. Use it as part of an ongoing system, not a one-time fix.
- Block the light: Preventing algae is easier than killing it. Opaque tanks, tight lids, and covered gutters are the best long-term defense.
- Rinse thoroughly: After any chemical treatment, flush and rinse tank walls multiple times until residuals are undetectable. Test before drinking.
This article is for general information only. Water purification and storage carry health and safety risks — always follow local regulations and manufacturer guidance.