A sudden drop in temperature can turn a reliable off-grid water system into a costly nightmare. Water expands by about 9% when it freezes, and that expansion can generate pressure over 2,000 pounds per square inch inside a pipe or tank. No material in a typical home water system can withstand that force. Frozen pipes burst, well pumps crack, and storage tanks split, leaving you without water when you need it most. Repair bills from freeze damage average $4,000 to $8,000 according to industry estimates, and secondary water damage can double that figure.
Winterizing your water system is not a one-size-fits-all task. An off-grid rainwater harvesting setup requires different steps than a drilled well with a submersible pump. A seasonal cabin needs more aggressive draining than a full-time home. This guide walks you through the vital techniques for pipes, pumps, tanks, and wells, with safety advice aligned to standards from the CDC for water quality after an event and the NGWA for well construction resilience. You will learn how to spot the first signs of freeze risk, choose the right insulation, drain everything correctly, and safely recover if ice still forms despite your efforts.
| Component | Primary Winterizing Method | Materials Needed | Difficulty |
|---|---|---|---|
| Outdoor faucets & hoses | Disconnect, drain, insulate cover | Insulated faucet covers, wrench, hose reel | Easy |
| Indoor pipes (exposed) | Foam pipe insulation, heat tape | Pipe insulation tubes, thermostatic heat tape | Easy to Moderate |
| Well head | Insulated cap or well house | Rigid foam, plywood, insulation batts | Moderate |
| Pressure tank | Heat tape, insulated blanket | Tank‑specific blanket, thermostatic tape | Moderate |
| Water storage tank (above ground) | Foam board enclosure, submersible heater | 2‑inch closed‑cell foam, heater with thermostat | Challenging |
| Entire system (vacant property) | Drain, blow out, RV antifreeze | Air compressor, RV antifreeze, drain hoses | Challenging |
How Do Freezing Temperatures Damage Your Water System?
The core threat is simple: water turns to ice and expands, but your pipes, tanks, and valves do not. That mismatch creates cracks, splits, and burst fittings. According to the Insurance Information Institute, water damage from frozen pipes accounts for nearly 22% of all property loss claims, with an average claim cost of over $11,000. In an off-grid context, the damage often goes unnoticed longer because you may not be on-site to hear a leak hissing.
Your well pump sits in a space where even a partial freeze can destroy seals and impellers. A submersible pump deep in the well bore is less exposed, but the pitless adapter, check valve, and pressure tank above ground are all vulnerable. The EPA warns that a breach in a well casing from ice can introduce surface bacteria and nitrates into your drinking water, making immediate water quality testing critical after any freeze repair.
Water storage tanks, whether polyethylene or steel, bulge and crack at the water line where ice forms first. Even a slow thaw can leave invisible microfractures that weaken the tank over time. That is why winterizing must cover every part of your system, not just the indoor pipes you see. Ice damage is cumulative, and a single oversight one cold night can set off a cascade of repairs that takes your entire off-grid water system offline for weeks.
- Frozen water exerts up to 2,000 psi, enough to rupture copper, PEX, and PVC.
- Well casing cracks let bacteria, nitrates, and surface runoff contaminate groundwater.
- Buried pipes still freeze if installed above the local frost line, check your region’s depth.
- Polyethylene tanks can split along seams; metal tanks often rupture at weld points.
What Are the First Steps to Winterize Outdoor Pipes and Hoses?

Start with the simplest, most overlooked items: garden hoses and outdoor spigots. Disconnect every hose from every hydrant and sillcock. Trapped water inside a hose will freeze along its entire length and push back into the spigot, cracking the valve inside your wall. Drain the hoses completely, coil them loosely, and store them in a shed or basement. Avoid sharp folds that can trap pockets of moisture.
Next, shut off the dedicated interior valve that feeds each outdoor spigot. Many homes and cabins have a single shutoff inside the basement or crawlspace. Turn it fully closed, then go back outside and open the spigot to let any remaining water drain out. Leave the exterior valve open slightly through the winter so pressure cannot build up if a bit of residual moisture freezes. For exposed standpipes in a barn or garden, consider installing a frost-free hydrant that drains itself below ground every time you close it. If that is not an option, wrap the exposed standpipe with foam insulation and a weatherproof cover.
If you plan to leave the property completely unheated, you must go further. Use an air compressor set to 50 pounds per square inch or less to blow water out of the entire outdoor irrigation loop. Do not exceed 80 psi, or you risk cracking fittings. After blowing out the lines, cap them to keep insects and debris out. For seasonal cabins, consider a full system drain using a procedure outlined in our water storage tank maintenance guide. The goal is zero standing water anywhere in the outdoor network.
- Disconnect all hoses, drain, and store indoors.
- Close interior shutoff valve; open exterior spigot to drain.
- Blow out irrigation lines with compressed air below 50 psi.
- Install insulated covers on all outdoor faucets.
How Can You Protect Your Well Pump and Pressure Tank from Freezing?
Your well head sits at ground level, right where cold air settles. The first defense is an insulated well cap or a purpose-built well house. Many well drilling professionals install a vermin-proof well cap, but adding a rigid foam shell or a small enclosure lined with fiberglass batts can make the difference when temperatures drop below zero for days. Make sure any enclosure still allows ventilation for the well to breathe; a tight seal can cause pressure imbalances that damage the pump.
Pressure tanks and the piping between the tank and the pressure switch live in pump houses, basements, or crawlspaces. These are often unheated even in occupied homes. Wrap the tank’s steel body with an electric heat tape that has a built-in thermostat, then cover it with an insulated blanket designed for metal tanks. Do not use generic house insulation that can trap moisture and cause rust. Secure the blanket with weatherproof tape, not wire that can cut the covering.
The pressure switch and gauge are tiny metal components that ice can destroy in hours. A small ceramic heater on a thermostat‑controlled outlet can keep a pump house above 40°F. If you use a heat lamp, anchor it securely so it cannot fall against something flammable. For seasonal cabins where no power is available, the only reliable method is to drain everything. Drain the pressure tank completely via its bottom valve, remove the check valve so water cannot sit inside it, and pour a little non‑toxic RV antifreeze into the tank to protect any residual moisture. Remember to test water quality after a freeze-up event using a reliable well water testing kit before drinking from the system again.
- Install a rigid‑foam insulated well cap or small ventilated well house.
- Wrap pressure tank with thermostatically controlled heat tape and an insulated blanket.
- Use a ceramic heater or heat lamp on a thermostat in the pump house.
- For seasonal shutdown, fully drain pressure tank and add RV antifreeze.
What Is the Best Way to Insulate Water Storage Tanks?

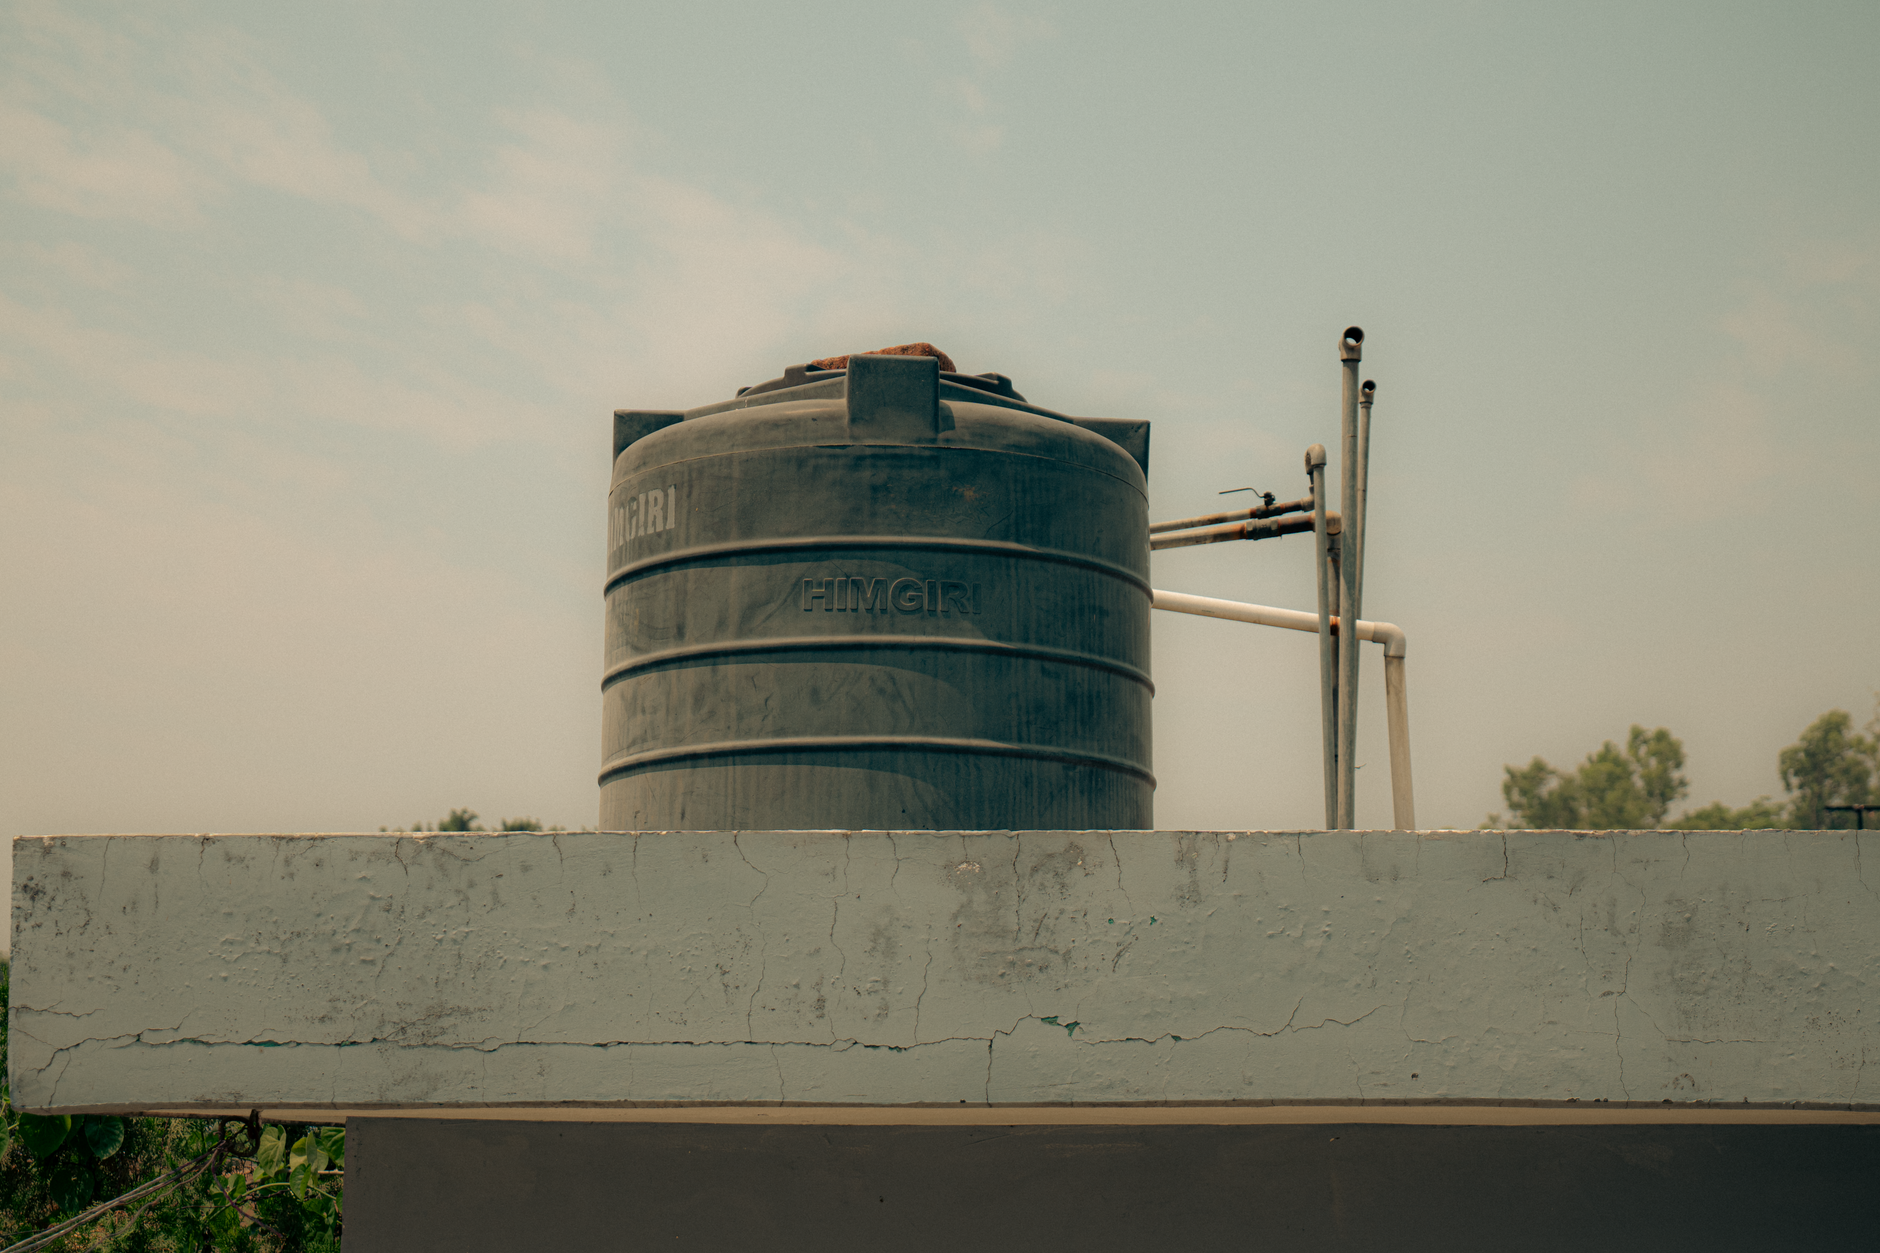
Large water storage tanks, whether underground or above ground, need special attention. Above‑ground polyethylene tanks lose heat rapidly from their walls and from the water surface if not fully sealed. The most effective method is a combination of rigid foam board insulation around the tank sides and an insulated lid or floating cover on top. A properly maintained storage tank can survive winters in climate zones 4 and below, but only if you seal every gap where wind can strip heat from the tank wall.
For above‑ground tanks, build a weather‑tight enclosure out of pressure‑treated plywood and line it with 2-inch closed‑cell foam board. Leave a small, screened vent at the top to equalize pressure. Inside the enclosure, you can place a small submersible stock tank heater or an electric tank pad that runs on a thermostat. Run the heater just enough to keep the water temperature between 35°F and 40°F; overheating wastes energy and encourages algae growth in the warmer months. If you rely solely on insulation, use a tank wrap rated for outdoor exposure, like multi‑layer reflective foil over an R‑10 foam mat.
Underground tanks have the advantage of soil’s thermal mass, but the access riser and lid still freeze. Cover the riser with a thick, insulated dome and extend the insulation down the sides of the riser pipe for at least 2 feet. Backfill the area with dry straw or leaves for additional frost protection, but keep that organic material away from the tank itself so it does not rot against the material. For those who store water long‑term, check out our best water storage containers guide to choose tanks rated for your climate. If your water source freezes completely, an emergency water storage plan with smaller indoor containers becomes essential.
- Wrap above‑ground tanks with 2‑inch closed‑cell foam board and a weatherproof outer layer.
- Use a thermostatically controlled submersible heater to maintain 35‑40°F.
- Insulate riser and lid of underground tanks with rigid foam, extending 2 feet down.
- Backfill around riser with dry straw for extra thermal mass.
How Do You Properly Drain and Winterize Your Entire Water System?
Draining a system thoroughly is tedious but non‑negotiable if the building will be unheated for more than a few days. Start by shutting off the main water supply. If your system draws from a well, switch the pump off at the breaker. Open every faucet, both hot and cold, to let air into the pipes and break the vacuum. Open the drain valves at the lowest points in the system. These are often near the water heater or at the base of a manifold. Allow gravity to do its work for 30 minutes, then go back with an air compressor.
Use an adapter to connect the compressor to a laundry tap or outdoor spigot with a regulated pressure of 40‑50 psi. Push air through one circuit at a time while the drains remain open. Work methodically from the highest fixture to the lowest. Run the washing machine and dishwasher through a short rinse cycle with no water to blow out their internal hoses and valves. After you are confident the lines are empty, add about 2 cups of non‑toxic RV antifreeze to every sink drain, toilet bowl, and shower trap. Never use automotive antifreeze; it is toxic and can permanently contaminate plumbing. Make sure your antifreeze is certified for potable water systems, such as those meeting NSF/ANSI standards. The Water Quality Association (WQA) provides guidance on materials that are safe to contact drinking water.
Do not forget the water heater. Turn off the gas or electricity to it, let it cool, and connect a hose to the drain valve at the bottom. After the tank drains, leave the valve open. For an electric heater, open a hot water faucet to relieve pressure. For gas, set the control to “pilot” if you plan to leave the pilot lit. If the entire home is being winterized, shut off the gas supply to the heater entirely. Draining whole‑house filtration systems, water softeners, and reverse osmosis units requires following the manufacturer’s bypass procedures, usually involving removing cartridges and adding antifreeze to the tanks. Our water purification methods article explains how different filter types handle freezing, but generally, any carbon block or sediment filter must be drained or it will crack.
- Shut off main water supply and pump breaker; open all faucets and drains.
- Blow out lines with compressed air at 40‑50 psi, working from high to low fixtures.
- Pour RV antifreeze into sinks, toilets, traps, and washing machine pump.
- Drain water heater, water softener, and filter housings; remove cartridges.
What Should You Do If Your Water System Freezes Anyway?

Even a thorough winterizing job can fail if a sudden freeze drops temperatures lower than predicted or if a hidden pocket of water remains. The key is to act fast but safely when you discover a freeze. Never use an open flame torch to thaw pipes; this is the leading cause of winter house fires. Instead, gently warm the frozen section with a hair dryer, heat lamp, or electric heating pad. Keep the affected faucet open so melting water can flow out and relieve pressure.
If you suspect the well pressure tank is frozen, turn off the pump immediately. Do not force the system to run, or you will burn out the pump motor as it bangs against a slug of ice. Open a low‑level drain and carefully warm the tank connection point with a heat gun on low, moving constantly to avoid overheating one spot. For shallow well jet pumps located in unheated pump houses, wrap the entire pump body in a thermostatically controlled heat tape and leave the pump house door ajar so warm air from a portable heater can circulate.
When the main water line entering the house freezes underground, you may need to call a contractor with a pipe‑thawing machine. In the meantime, you will need an alternative water source. Keep a supply of clean water in emergency containers indoors; our guide on emergency water storage shows exactly how much you need per person per day. A portable water filter can make meltwater from snow or ice safe to drink after thawing. Once water is flowing again, test for coliform bacteria and nitrates, especially if the freeze cracked a seal. The CDC recommends testing well water at least once a year and after any repair that might breach the system. A full water testing guide will help you understand the results and take corrective action.
- Thaw pipes with a hair dryer or heat pad, never an open flame.
- Turn off the pump immediately if the pressure tank or well line freezes.
- Keep emergency water on hand and know how to make meltwater safe to drink.
- Test water quality after any freeze‑related repair before consuming.
Frequently Asked Questions
What temperature will cause water pipes to freeze?
Pipes can start freezing when the outside temperature falls below 20°F, especially if they are uninsulated or exposed to wind. In unheated interior spaces, freezing can occur at 32°F if the cold stays long enough.
Is it safe to use RV antifreeze in drinking water pipes?
Yes, but only RV antifreeze that is labeled non‑toxic and meets NSF/ANSI standards for potable water systems. Never use automotive antifreeze because it is highly toxic and can permanently contaminate your plumbing.
Can I leave my pressure tank on during freezing weather?
You can leave it on if the pump house remains above 40°F and the tank is wrapped with a thermostatically controlled heat tape. If the pump house is unheated, drain the pressure tank and shut off the pump to avoid ice damage.
How do I thaw a frozen well pipe underground?
Shut off the pump, open a faucet to relieve pressure, and use a pipe‑thawing machine or call a professional. Do not pour boiling water down the well. If the freeze is shallow, gently warm the accessible pipe with a heat lamp.
Will insulating my water tank be enough without a heater?
Depending on your climate zone. In areas with frequent temperatures below 10°F, insulation alone may not prevent the water from freezing. A small submersible stock tank heater or a recirculating system through a frost‑protected loop adds safety.
How often should I test my well water after a freeze event?
Test immediately after any repair that breaches the well seal or piping. The CDC recommends annual testing, but a freeze‑thaw event is a good time for an extra test, especially for coliform bacteria and nitrates.
What Should You Remember?
- Disconnect and drain all outdoor hoses and spigots as the first freeze‑prevention step every fall.
- Protect your well head with a rigid‑foam insulated cap or a small ventilated well house.
- Wrap pressure tanks and exposed pipes with thermostatically controlled heat tape and insulation designed for wet locations.
- Insulate above‑ground storage tanks with 2‑inch closed‑cell foam and use a thermostatic submersible heater to maintain 35‑40°F.
- Drain your entire system thoroughly if the property will be unheated, using compressed air and RV antifreeze in traps and appliances.
- Never use an open flame to thaw frozen pipes; use a hair dryer, heat lamp, or electric heating pad instead.
- Test your water quality after any freeze‑related repair to ensure your drinking water remains safe under EPA and CDC guidelines.
This article is for general information only. Water purification and storage carry health and safety risks — always follow local regulations and manufacturer guidance.